
For those who didn't get the list of supplies needed to make this cup, reference here for that list. I also recommend having some sort of timer or stop watch nearby. Brew time should be about 4 minutes, including a 1 min bloom time (I'll explain).
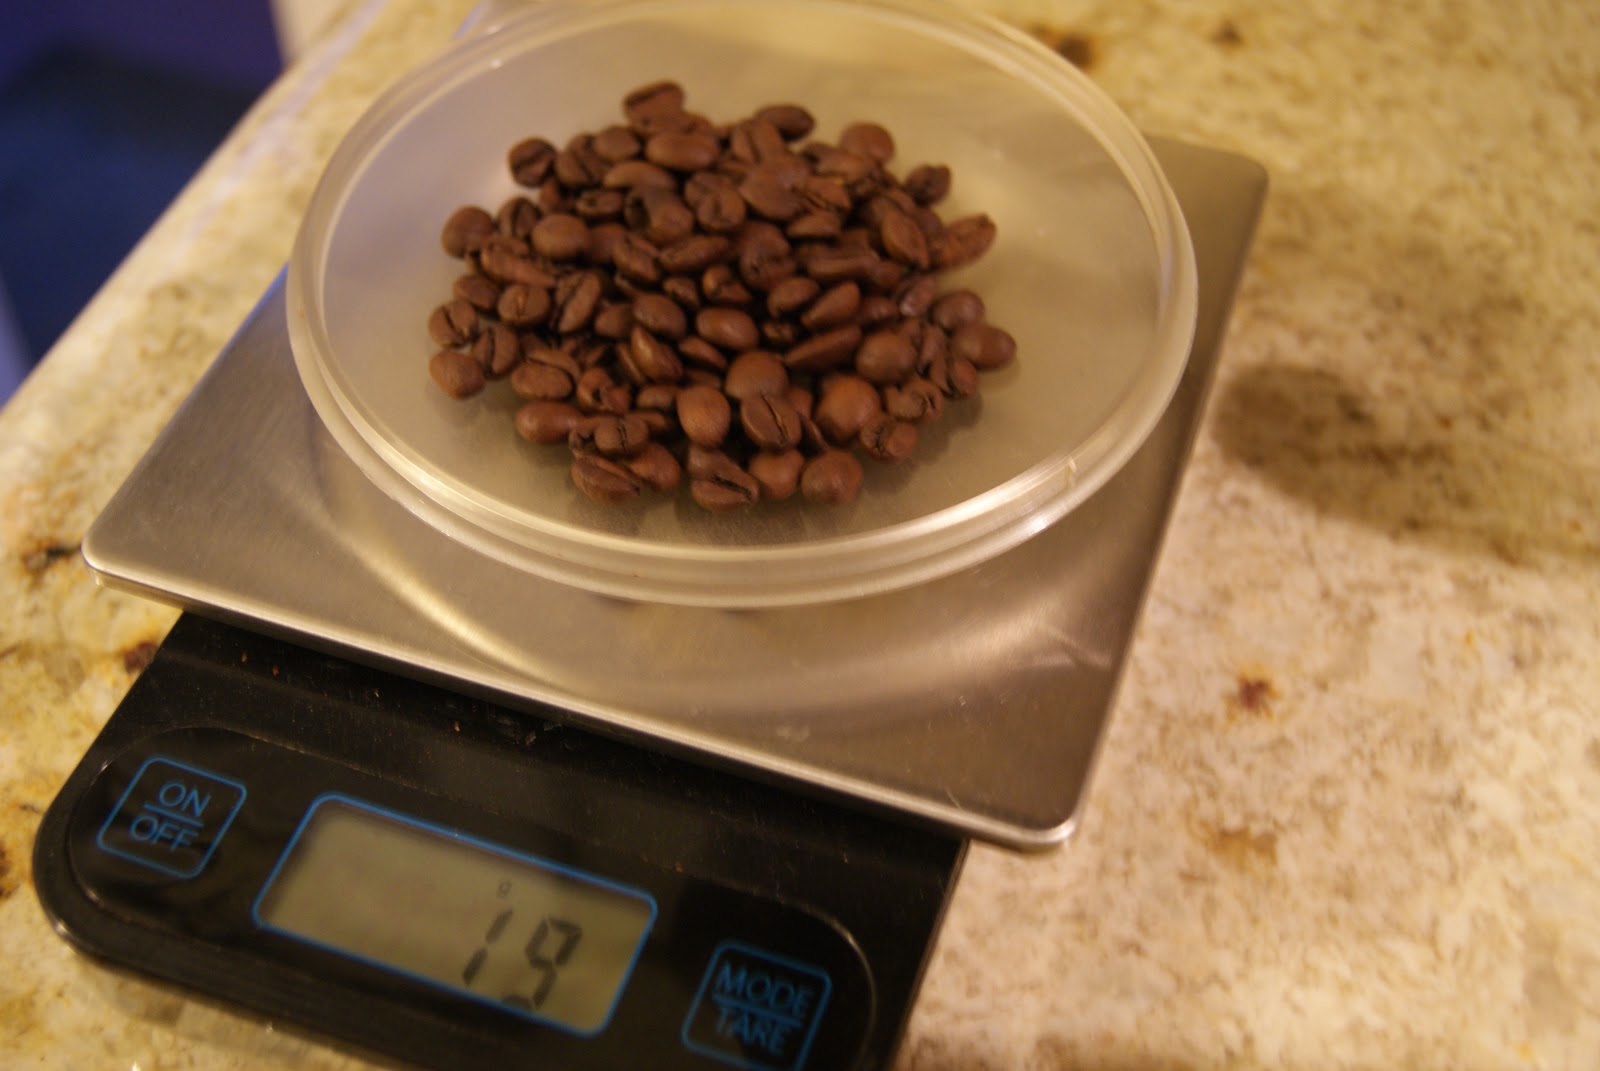
So we're looking to make a 300g cup of coffee. 300 grams is about the size of your typical coffee mug. We'll be using 19 grams of coffee for our 300 grams of water.
Step 1: Measure the Beans
Step 2: Grind the Beans
 Make sure to set your grinder to a medium grind. We've discussed the importance of making sure the grind isn't too course nor too fine for our pour over in the last post. Once you've ground your coffee, many in the professional barista community would say that you have about 15 minutes before those grounds become stale (reason being is due to the fact that your grounds now have a much smaller surface area therefore it's decay rate is now much quicker).
Step 3: Set the Water To Boil
 Water boils at approximately 214° however the Specialty Coffee Association of America (SCAA) has found the perfect temperature to brew coffee at anywhere between 195°-205°F. You can either measure it with a thermometer, like I would typically do or just let the water boil (or whistle, whatever your boiling indicator is) then wait 25 seconds before using it to brew your coffee. By that time it'll be at the ideal brewing temperature. Too hot and you burn the beans. Not hot enough and the water won't fully dissolve/extract the desired amount of coffee from the grinds (that gets into TDS, which is a whole other discussion).
Step 4: Pre-Wet Your Filter
 Place your V-60 on top of your coffee cup (I'm using a mason jar). Place your number 2 paper filter in the V-60 and pre-wet the filter before placing the coffee grounds in. Pre-wetting the filter will get rid of some of the impurities and paper taste from the filter. Once you've done that, dump out the water from your cup and now you're ready to put the coffee grinds in your V-60, as shown in the picture to the right. Try to make sure the grinds are spread out evenly.
Step 5: Let the Pouring Begin!
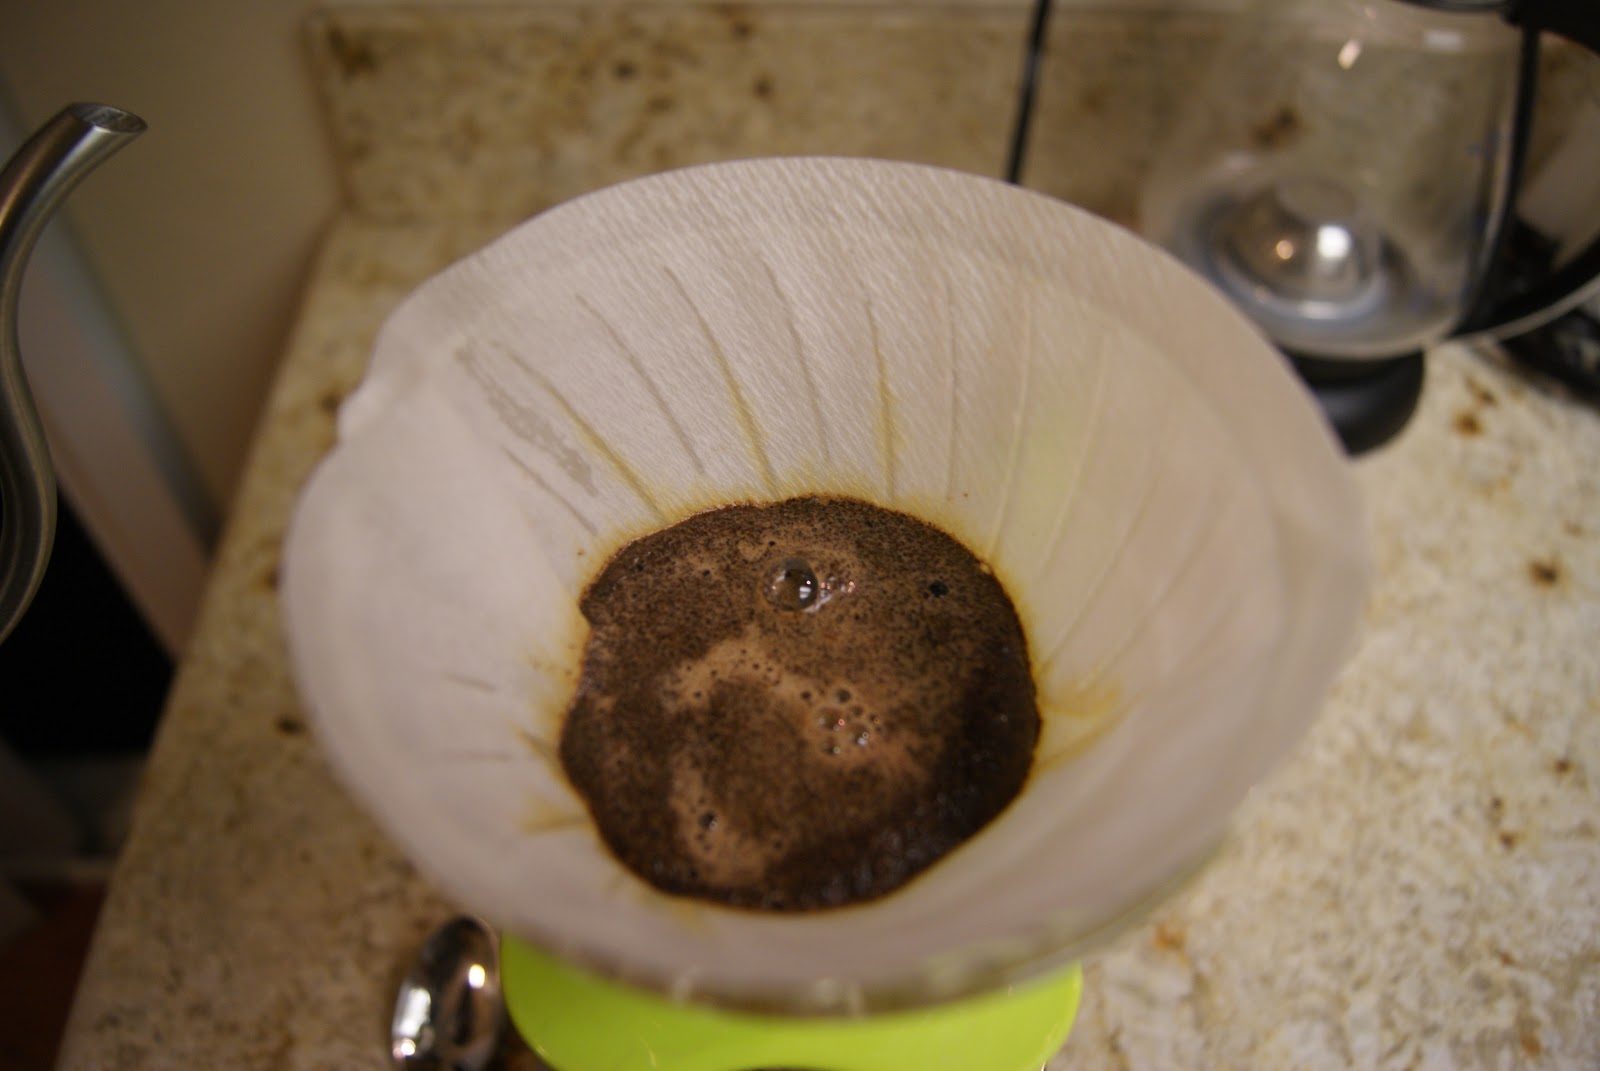 |
| Coffee bloom is a bubblin' |
- Start your timer and pour 60 grams of your water on to the grinds (making sure all grinds have been touched by the water) and let it bloom. When the coffee blooms, you'll notice the coffee start to bubble a bit. What that does is it allows the trapped C02 in the coffee to escape, which lets those trapped gases in the coffee out (also a good sign of fresh coffee). I like to grab a small spoon at this time and agitate the beans to ensure all beans have been wet.
- Once your timer hits the minute mark, pour again from inside to outside in a clockwise fashion. This time pour till it reads 125 grams.
- Let the coffee drip and start pouring again (wait till the water has passed through the filter, but not long enough to let the bed of grounds become dry). This time, pour till it reads 200 grams.
- Repeat the previous process, then begin to pour again until you get to your 300 grams. While the waters passing through, I like to give it one more quick agitation to ensure that all the grounds were fully saturated.
Step 6: Sit Back and Enjoy
Your hard work has paid off. It's been a total of about 3.5-4 minutes since you started pouring and now your ready to enjoy that amazing cup of coffee. You'll be able to not only taste the difference, but you'll even be able to see a difference in the clarity of the coffee. Very light in color, almost tea like (obviously depending on what kind of coffee you're using). It's definitely like night and day compared to that Costco-Brand Coffee you've been drinking every morning this week (no disrespect to Costco, you win when it comes to polish hot dogs and a drink for only $1.50... am I right people?).

Now I hear and have heard critics tell me, "that's way too involved, I'll never do that." If that's you, remember that total brew time is only about 4 minutes, which isn't much longer than your coffee machine. Still impatient? As the old English saying goes, "good things come to those who wait," and those words ring true when it comes to good coffee. Take your time brewing. It doesn't have to be a chore and, at least for me, it's a relaxing and enjoyable morning ritual. It really is a fun part of my morning and in the end you reap the benefits with an absolutely tasty cup of coffee. When I drink a good cup, it just makes me think of how awesome it is that these interesting tastes can be naturally occurring in coffee. It's a wonder to me! I've had so many different kinds of coffee over the past year and half and each time I taste one I like, it blows me away how God has made these roasted coffee cherry seeds to emulate other tastes, like blueberries, strawberries, apricots, dark chocolate, or random other tastes like herbal tea, and toasted marshmallows (seriously, I've had some coffee that has a tasted like a toasted marshmallow, it's bonkers).
My beautiful wife, the coffee antagonist, would be able to vouch that there is a world of a difference between these hand crafted cups of coffee and Starbucks. There's no comparison and it's obvious that this coffee blows others Keurig coffee or instant coffee miles away. My challenge to you is to just try it. I'll let you borrow my set up for a day if you want or just come over and I'll make you a cup. This kind of coffee is the way coffee should be enjoyed; smooth, tasty, and an enjoyable compliment to your day. If you've done coffee this way, comment away and let me know what you think. Questions? Let them be known and I'll do my best to answer them.
No comments:
Post a Comment